Predominantly, I used Photoshop to create the main part of the animations, and creating the lip sync in after effects.
Photoshop Notes:
+ It was easy to animate with colour coding, working with layers and timeline rather than video layers which would have been more time consuming. I find it easier working with separate layers, rather than a video layer, as I can easily go back and change that frame, as well as use the previous frame as reference by lowering the opacity. I found that the onion skin tool doesn't work as successfully in comparison to lowering the opacity of the previous layer.
+ Due to the file size and amount of ram, Photoshop couldn't cope with the amount of data to be able to preview the animation or export to a Quicktime file. In order to solve this problem I had to render all the animation out into a jpeg sequence, this wasn't as time consuming as I originally thought as it took about the same time, if not faster at points, to render the sequence.
+ The file size grew dramatically as soon as I started to add colour, and in order to ensure that the quality remained, I had to use a high resolution, 300 dpi. The file size was far too big, the render time was taking far too long, which made photoshop crash quite a few times. Therefore in order to solve the problem, I had to compromise to a lower resolution, 170 or 150 dpi. The quality was still there as long as I didn't pan the camera into the animation.
After Effects Notes:
+ I was able to import all of the photoshop layers into the compositions and edit the timing of the animation further. This really saved time on animating, as in order to ensure that the file in photoshop worked efficiently I had to make the animation 10 seconds. In After Effects I was able to change the duration and duplicate/alter the layers if needed. Furthermore After Effects was fantastic for creating the lip sync to the audio. I was able to ram preview the composition with the audio, making it easier to time the lip sync with the phonemes.
+ The transform keys were extremely useful for subtle positioning movements. I mainly used these key frames in the ending title sequence to fade in the text and logos. These helped with the movement of the clouds in the background as well. I was going to offset the clouds so that they would loop, however I realised that the clouds moved too fast so the position key frame was all that was needed for the movement.
+ The main problem I had with After Effects was that it wouldn't render the audio in the preview, at times, it would attempt and then cut the audio abruptly through the preview. I found that this was due to both the ram and After Effects crashing. The only solution I had was to restart my computer in which the software and preview worked fine. Additionally, sometimes when importing the audio After Effects stretched it slightly so when I exported the animation to premiere to match with the audio after I had lip synced the scene, it wouldn't sync due to timing being different. I found no real solution apart from double checking the speed of the audio file before I began to lip sync.
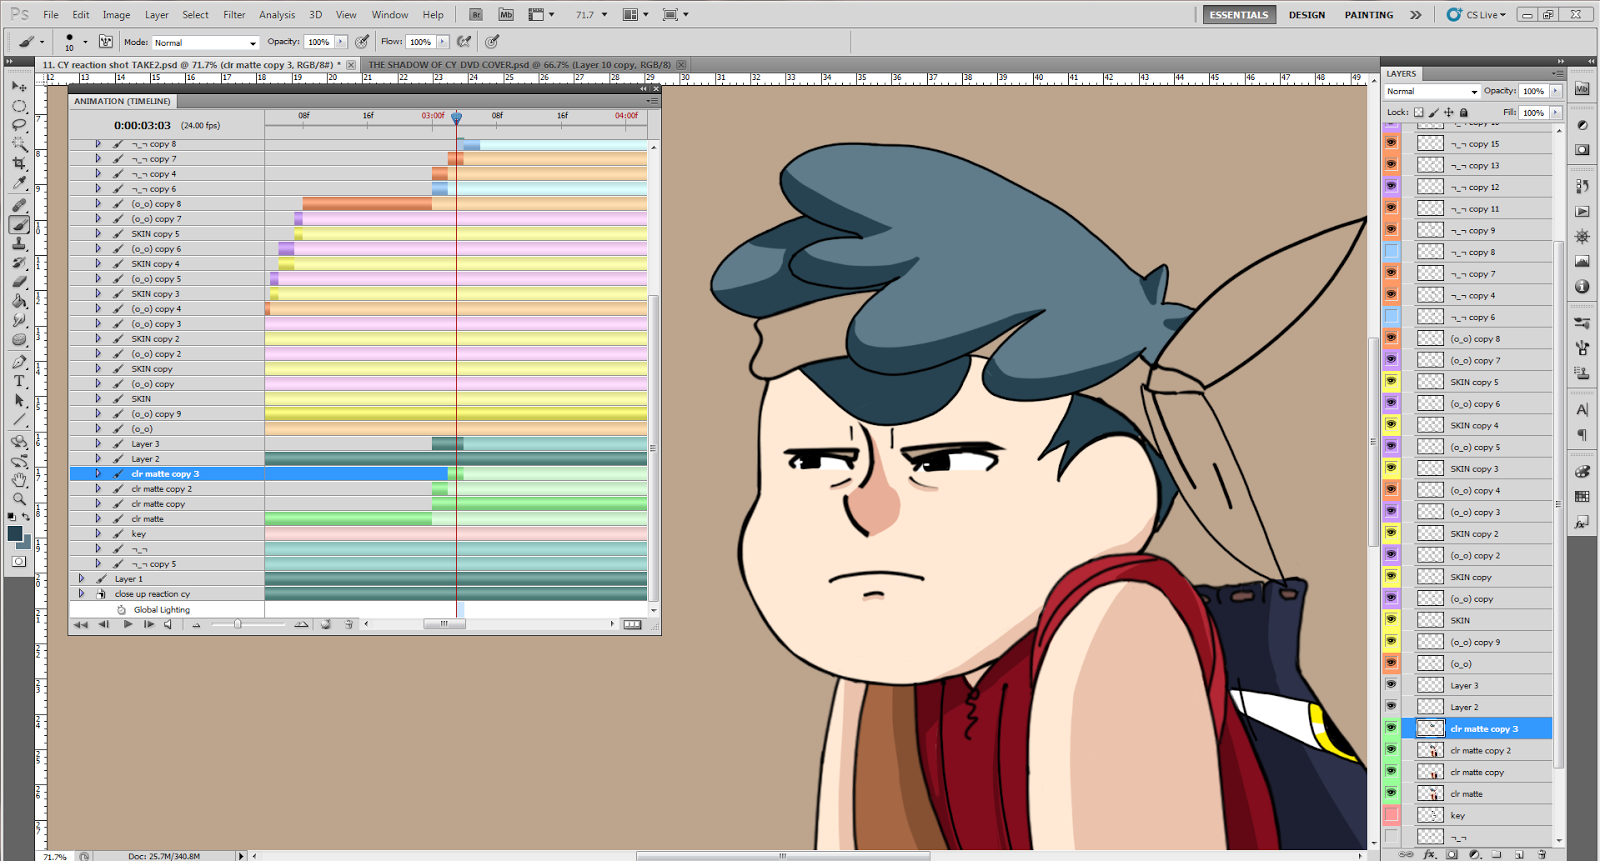 |
| Photoshop workspace |
 |
| After Effects workspace |
No comments:
Post a Comment