To create the main body of the mug, I first needed to create a cylinder polygon and add 3 subdivisions to the top circular face, subdivision caps. Subdivisions of a polygon are vital for deforming and manipulating the object. I then moved on to right clicking on the cylinder and choosing the face, I was able to select the centre faces and move these down with the translate tool. I only chose the centre faces so the rim of the mug could be made, the subdivision circle of faces that was next to the centre faces would be dragged down as well, leaving the last subdivision to be the rim.
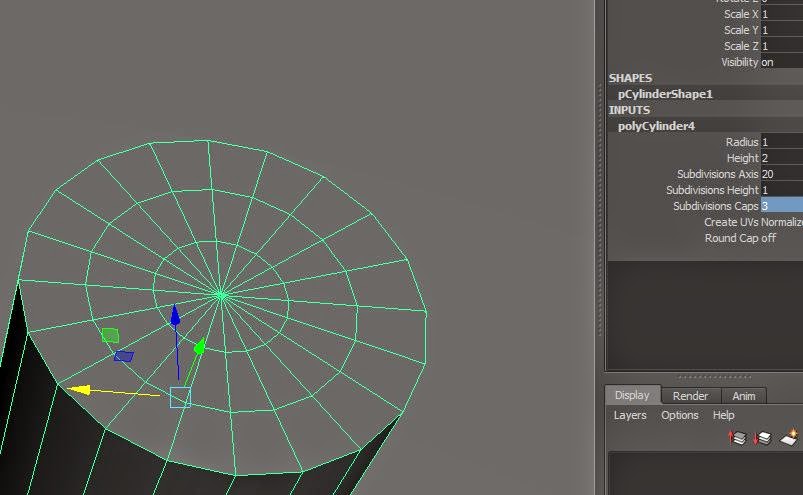 |
| Adding subdivisions |
 |
| Moving the centre faces down to create the inside of the mug |
To create the handle I used another cylinder polygon, creating more subdivisions and using the non linear deformer - bend. You can control the point of the bend by moving the handle, and by holding down the middle button you can manipulate the curvature of the cylinder, how much you want it to bend. I then smoothed the cylinder by using the shortcut '3' and '2' to view the smooth and the wireframes, '1' to revert back to normal. In addition you can view just the wire frame with '4', put the shading back on with '5' and '6' shows the textures and '7' turns on the lighting and shadows.
 |
| Using the non linear bend deformer to create the handle |
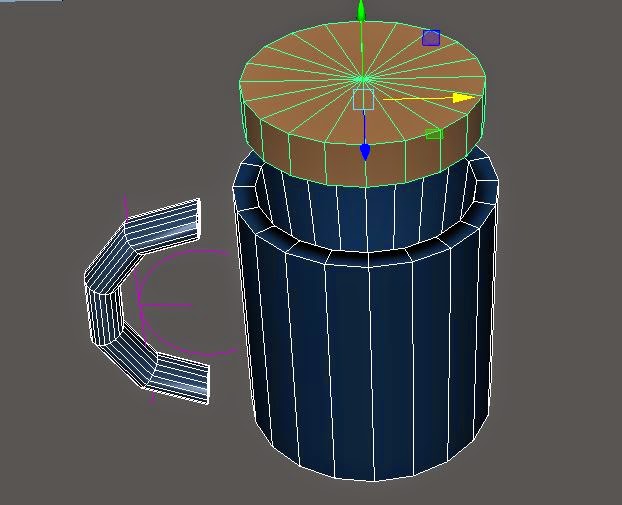 |
| Parts of the mug |
I added colour by selecting and right clicking on the polygon and choosing assign new material, and then choosing shader from the menu. You can also click on the render shelf and choose the premade shaders from there. On the attributes menu, you can change the colour or add a texture to the polygon. I added the texture by clicking the checkered box next to the colour slider, and chose the texture from the menu that followed. I chose the wood texture for the table and was able to change the size and thickness of the grains through the attributes menu.
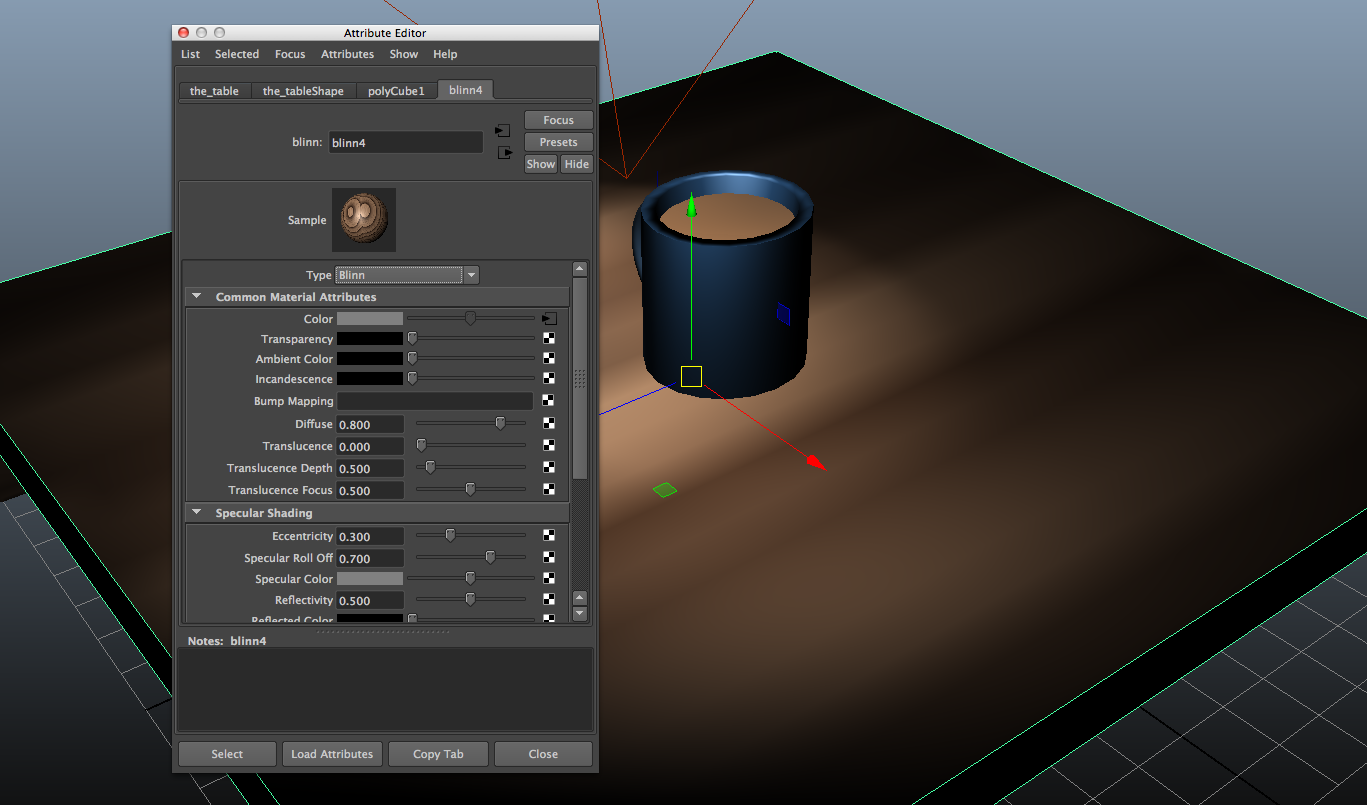 |
| Adding a texture |
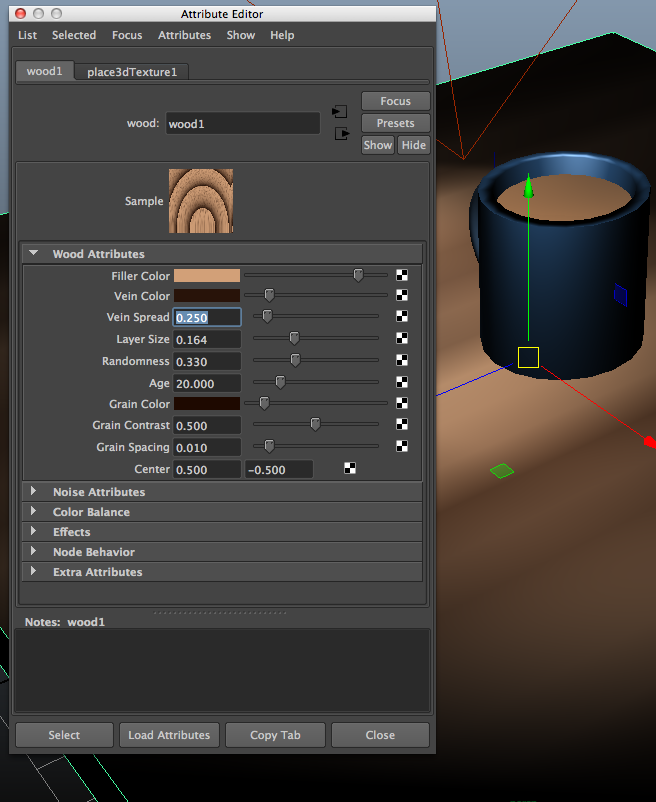 |
| Changing the grain of the wood |
I then added lights to the composition by going onto the rendering shelf and choosing the spot light and area light. To see the effects of the light I used the shortcut '7' to see how the light would effect the scene. With the lights you can also use the translate, scale and rotate tools, to effect it and in the attributes menu you can change the colour, feather and intensity of the light. For example you can change the penumbra angle, increasing or decreasing the area of light, and using the dropoff scroll you can feather the light.
 |
| Adding lights |
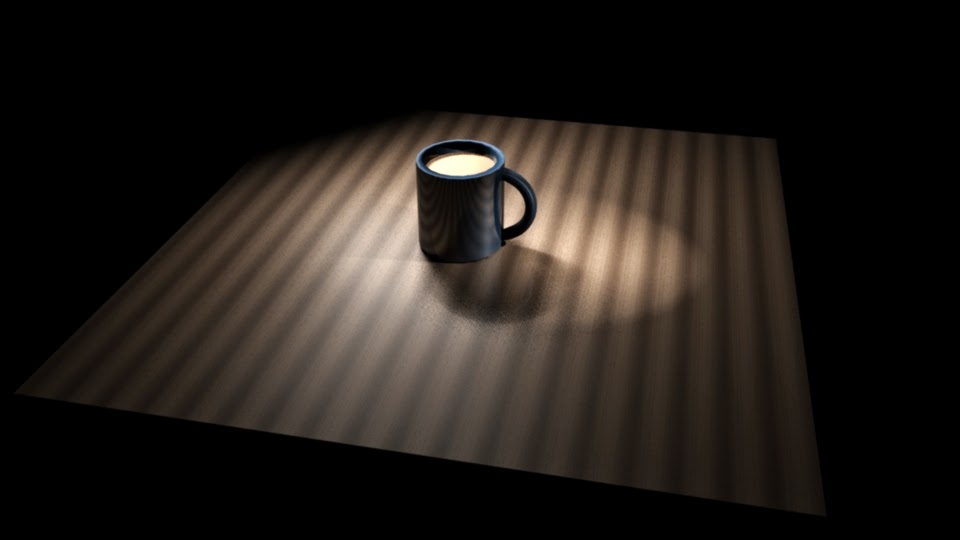 |
| Final rendered image |
No comments:
Post a Comment